Sunday, December 20, 2009

Reusable Christmas Wrapping


Several years ago my mom came up with the genius idea- cloth Christmas bags. No more waste on Christmas morning; no more paper or gift bags, no more spending all that time wrapping presents and using tape. Instead, she bought a bunch of different Christmas fabrics and sewed bags of all sizes. After everyone is finished opening presents we just fold them up and use them again.

Sewing Christmas bags is very fast and easy. You can make 1 in about 10 minutes, really! Here is my process:

1. Cut fabric according to the size of present you want to wrap. Put the fold on the bottom or one of the sides, it doesn't really matter:


2. Fold over the top seam just once and steam into place. Make the fold about 1" or more:


3. Sew up the sides:


4. Make a little cut in the middle of the top fold:


4. Then sew up the top seam:


5. Next cut some ribbon long enough to be pushed through the top seam. Take a ball point pen and with the tip, pierce through the middle of the ribbon:


6. Push through the seam:


7: Finished!


8: Throw your presents into their bags and your done:


Sunday, December 13, 2009

Changing Table Organizer


My final pre-birth craft for Little Sherri comes in the form of an over-the-changing-table-organizer. It has pockets for bottles and monkeys- the essentials for changing a baby, or so I assume.

To "picture frame" a decorative element you need a right-angle square and a marker:

/>

Cut off your angle, repeat all around:


The pockets sure did take a while to figure out. I tried about three different styles but every single one looked a little too ruffly- no one knows what the baby is going to be yet so it was best to not make anything too girly.

Monday, December 7, 2009

Christmas time is here

Happiness and Cheer

I've never decorated for my own personal Christmas before so the decorations that I own can fit into one palm. However, I always have popcorn! As it turns out, stringing popcorn and cranberries is easy. I strung a small trees worth in 1 hour. You can too! All you need is a TV, a good program, a big fat needle, some string, popcorn and cranberries. It's good to do while your hungry for some munchies. One for the string, one for the mouth.


Joey went to Big Lots today and found those old school 80's colored lights, my favorite!


And a sneak peak into my next big project (that would be done by now had I not nearly cut my finger off doing it. All for Little Sherri):

Sunday, December 6, 2009

Decoupage Silhouettes

Decoupage Silhouettes

These two words are impossible to spell but so easy to make!

Our bedroom needed some pizazz, so when I saw these 3 terrible/wonderful little wooden numbers at Goodwill, I saw the potential.


Basically decoupage is just getting your hands dirty with watered down Elmer's glue. Don't fall for the expensive "decoupage glue" at the craft store. Just pour out some white glue into a container and slowly add water until you have a nice thin, but not too watery, consistency. Layer this glue with a sponge brush- get everything nice and gluey.


Let dry overnight.


Monday, November 30, 2009

Christmas Wish List

I know I promised you an entry about decoupage. But I'm busy, you'll just have to wait. Instead:

Dear Santa:
I love these pillows from the awesome MARIES COSY CUSHIONS, who has an extensive ETSY shop, check it out!


Along with those pillows I desire these curtains, which is actually a cotton shower curtain that I'll convert:


I would wear these everyday if I had them:


And finally:


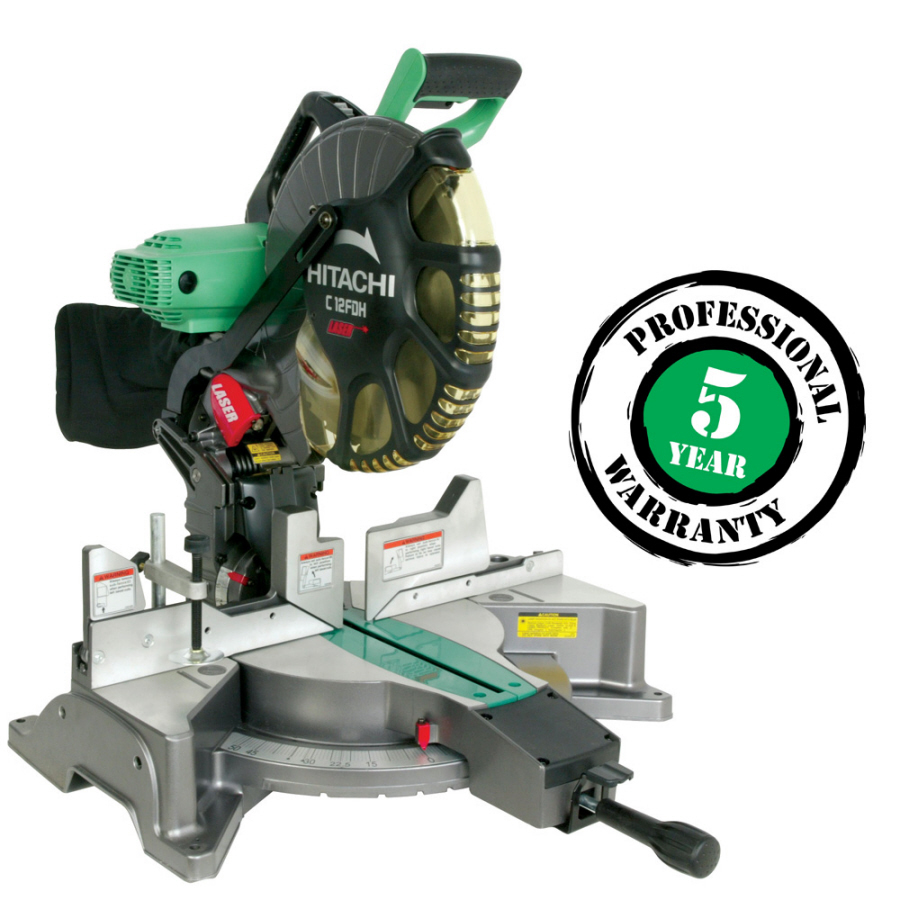
With that miter saw I could totally and easy and happily make some of these awesome stretched fabric pieces for so cheap! What an easy way to add color and interest you any room:


So hurry down my chimney tonight :) Merry Last Day of November!

Sunday, November 22, 2009

Fun with a Staple Gun

Quick and sloppy, staple gun crafts rank among my favorite.

CRAFT NUMBER ONE: 1 Hour, 6 Chairs.

A staple gun is essential for your super easy chair upholstery projects. I used 3 yards of 54" upholstery fabric for 6 seat cushions.

BEFORE:


Step 1: Flip over chair and unscrew cushion:


Step 2: Wrap and staple. Be sure to keep it tight, also be aware of your pattern. If you using stripes or centering a pattern on top, be conscious not to make the fabric crooked.


Step 3: Screw cushion back on. DONE!


AFTER:


CRAFT NUMBER 2: Fabric Nursery Art

I sewed this little felt creation for Sherri a while ago but was unhappy with the framing. So I turned to the staple gun for help. I stretched some white fabric on a wooden frame and secured it into place, just like stretching a canvas for painting.


Then I had this nice tight canvas on which to sew my little felt creation:


CRAFT NUMBER 3: Living Room Art
The same process as the baby art, but for a more mature audience. I'm trying to turn my living room to a something that can be described as shabby chic. And you can't do that without doilies.


Guess what? Decoupage tomorrow!

Thursday, November 19, 2009

Wedding Backstory part 3

Part 3: The Pies

Everyone loves pie.


At the wedding we had multiple peach pies, apple pies, pecan pies, wild Maine blueberry pie, pumpkin pies, pineapple pies, blackberry pies, raspberry bavarian cream pies . . . oh my oh my.

Momma's Amazing and Never-Enough-of-it Raspberry Bavarian Cream Pie:


Step 1: Grow raspberries in your yard. This is important. If there are not little crushed up bugs and blood from your pricked fingers in the pie then it is no good. My mother's porch has a raspberry bush growing right up through it. Some litte volunteer seed was dropped and up sprang the most delicous and voracious rasberry bush ever there was. During the berry season you walk out onto the porch with a bowl and pick berries for breakfast- talk about joyism.

Step 2: Make the Graham Cracker crust. Or, ok, you can buy one.

12 whole graham crackers crushed
3 TBSP brown sugar
6 TBSP melted butter
Combine the crumbs sugar and butter. Press into the bottom and sides of a greased pie pan. Bake at 300 F for ten minutes. Cool and set aside.

Step 3: Eat some spoonfuls brown sugar and a handful of berries.

Step 4: Make the Filling
-Wet down a mixing bowl and pop it in the freezer
-Crush 1 quart of raspberries
-Add to that 1 cup of sugar
-Let this stand for 30 minutes
-Soak 2 tsp of gelatin in 3 tbsp water
-Dissolve that into 3 tbsp of boiling water
-Whip 1 cup of whipping cream in your chilled mixing bowl until it peaks.
-Stir water mixture into berry mixture
-Fold cream lightly into the berries before the berry/gelitan mixture sets up
-Pour the whole delicous mess into the cooled pie shell
-Put into fridge and wait patiently until it all sets up and holds its shpe upon cutting.


Yummmm

Mom made Joey and me a heart shaped half-and-half pie for our wedding. Half pecan (Joey's fav)and half raspberry bavarian:


Everyone at the wedding got a little sweeter!: